

In your cloud hosting interface (click here to know more), click on the user icon in the top right corner and select “User account”. Then, when the next page loads, look for the menu on the left, and look for “Settings” and click on “Password” under that. You should then be able to edit your password settings. 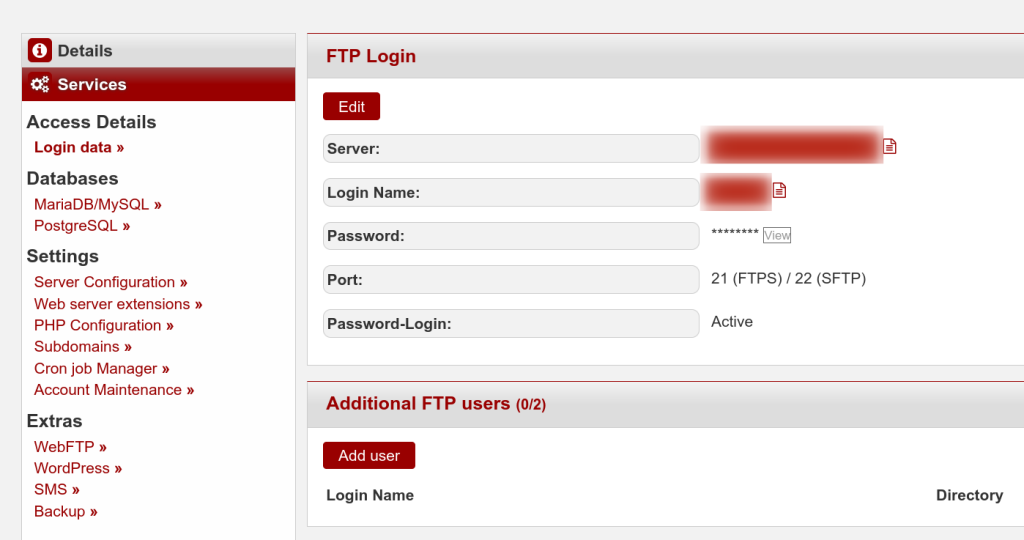
You can add additional FTP users that can only access certain directories.
When you set up your account, we sent you your access details via email. You can change your password if you want to.
What is FTP?
FTP stands for File Transfer Protocol.
Via FTP, you can upload files to a server and download files from a server.
When you design a website, you usually create it on your home or office computer. Using FTP, the files for your website are transferred to your account and are thereby accessible to the public. You can view and change the required FTP access details on your cloud hosting interface.
FTP programs
There are countless FTP applications available for download from the Internet. Here are some recommended programs:
- FileZilla (Freeware)
- Cute FTP (Shareware)
- FTP Explorer (Shareware)
- WS_FTP (Shareware)
Additional FTP users
For additional FTP users, you can define the conditions under which they can gain access. Additional FTP users can only access the public_html or its subdirectories. They cannot access the home directory. The name of the users are fixed; you cannot change them.
Uploading files with FTP
The easiest way to upload files is with a convenient FTP program. Specify your server address and required FTP access details and connect to your account.
When you have logged on, you will see some folders, for example “www_logs”, “users” and “public_html”.
The folder “public_html” is important for your website. This is where you store the files for your website. Follow these steps:
FileZilla (Freeware)
- Start FileZilla.
- In the menu, select “File” > “Site Manager”.
- Click on the “New Site” button at the bottom section of the page to create a new connection.
- The phrase “New FTP Site” is highlighted. Enter the name of your page.
- Provide the following information:
- Host: Server name (e.g. www123.your-server.de)
- Server Type: FTP (explicit encryption) or SFTP
- Logon Type: Normal
- User: FTP Username
- Password: FTP Password
- Click on “Connect”.
- When you are connected, double-click on the public_html folder and transfer the relevant files. (Important note: The homepage must have the name “index.html”).
WS_FTP (Shareware)
- Start WS_FTP.
- In the menu, select “File” > “Connect” > “Site Manager” > “New Site”.
- Follow the wizard and provide the following details:
- Server Address: Server name (e.g. www123.your-server.de)
- FTP site User Name: FTP Username
- FTP site Password: FTP Password
- Connection Type: FTP
- Click on “Finish”.
- To connect to your FTP server, select “File” > “Connect”, and click on your page name.
- When you are connected, double-click on the public_html folder and transfer the relevant file. (Important note: The homepage must have the name “index.html”).
- To upload your files, you can use the file Explorer or you can drag and drop files from Windows directly into WS_FTP.
CuteFTP (Shareware)
- Start CuteFTP.
- In the menu, select “File” > “New” > “FTP Site”.
- Enter the following information:
- FTP Host Address: Server name (e.g. www123.your-server.de)
- FTP site User Name: FTP Username
- FTP site Password: FTP Password
- FTP site connection port: 21 (not necessary with newer versions of CuteFTP)
- Login Type: Normal
- To connect to your FTP server, double-click on the page name in the “Site Manager” window.
- When you are connected, double-click on the public_html folder and transfer the relevant files. (Important note: The homepage must have the name “index.html”).
FTP Explorer (Shareware)
- Start FTP Explorer.
- In the menu, select “Tools” > “Connect”.
- Provide the following information:
- Host Name: Server name (e.g. www123.your-server.de)
- User ID: FTP Username
- Password: FTP Password
- In the rest of the fields, leave the default values.
- Click on “Save” and select “Connect to your FTP server”.
- When you are connected, double-click on the public_html folder and transfer the relevant files. (Important note: The homepage must have the name “index.html”).
Important points
- You need to save all files which you wish to make publicly accessible in the “public_html” folder.
- You need to select “Binary Transfer Mode” for picture files (E.g. .gif, .jpeg).
- You need to activate “ASCII Mode” for files which will be readable as normal text (e.g. .html, .php). If you use the incorrect mode for transfer, it can lead to distorted pictures and CGI scripts.
- Acceptable naming conversions: Our Linux server is case-sensitive. This means it differentiates between lower-case and capital letters. In other words, the file name “faq.html” is NOT the same as “FAQ.html”. Incorrect link references will display a “File Not Found” error. This also applies to folder names. To avoid these errors, we recommend that you write all file names in lower case letters.
- Several special characters are not allowed in file names. You should completely avoid using special characters.